2020-08-06
Flask 框架学习
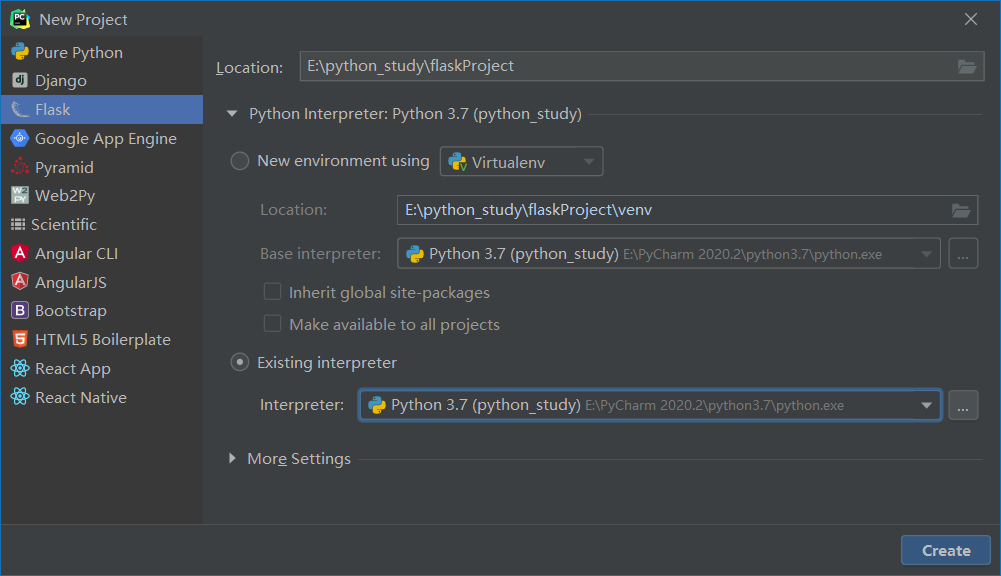
通过 Pycharm 创建新的工程,创建 Falsk 项目
生成的 Falsk 项目中带有一个 app.py 文件
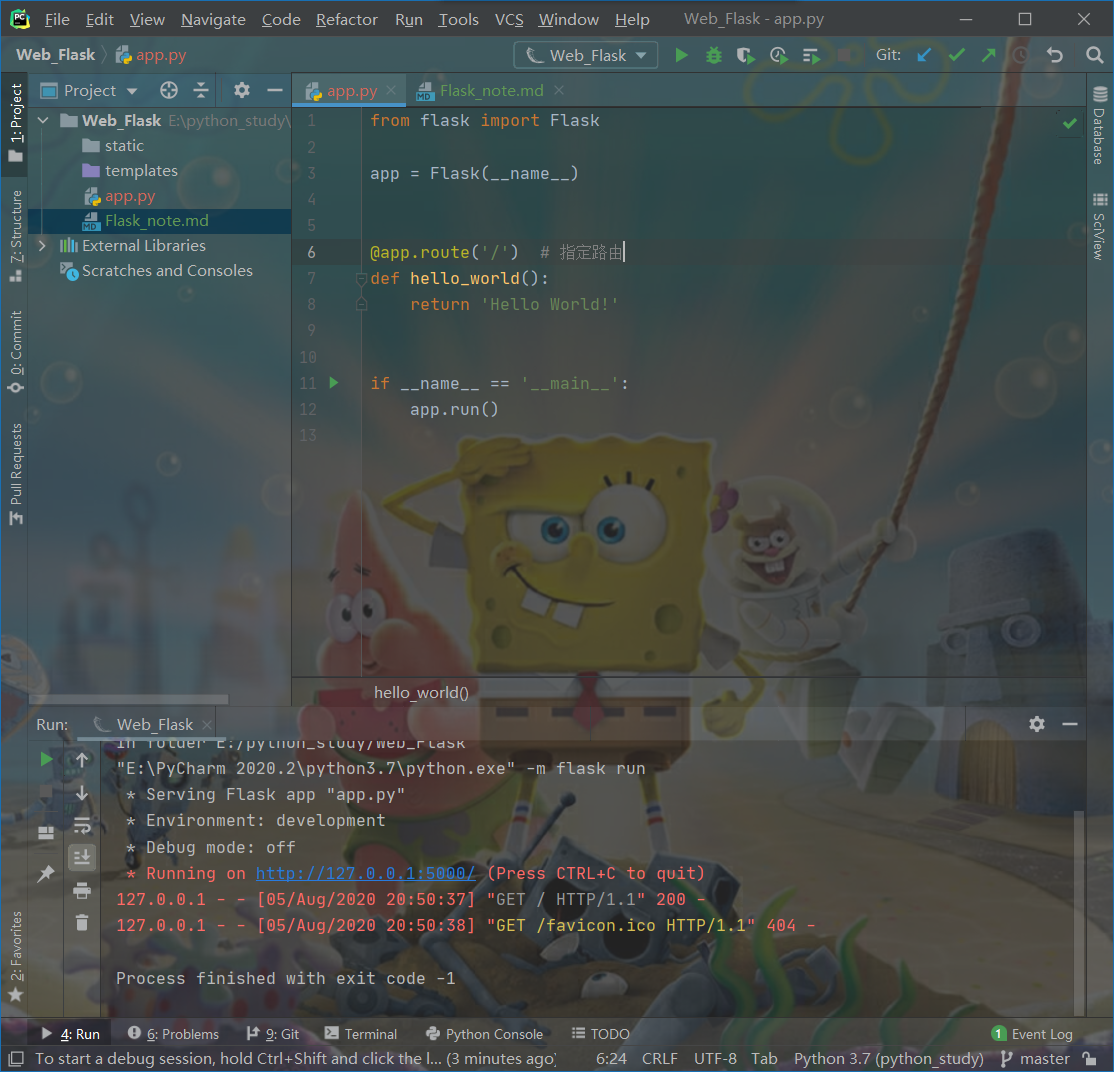
1 | from flask import Flask |
进行简单修改,对页面进行布局,渲染
基础:在 return 内增加 HTML 类型文件
1
2
3
4
5
6
7
8
9
10
11from flask import Flask
app = Flask(__name__)
def hello_world():
# 更改 return 内为 HTML 文件
return '<h1>Hello</h1><p>Flask</p>'
if __name__ == '__main__':
app.run(debug=True)优化: 在工程下建立文件夹 “templates” (现在版本已经实现自建),”templates” 中建立 “index.html” 文件
在 app.py 内引进 Flask_note1 渲染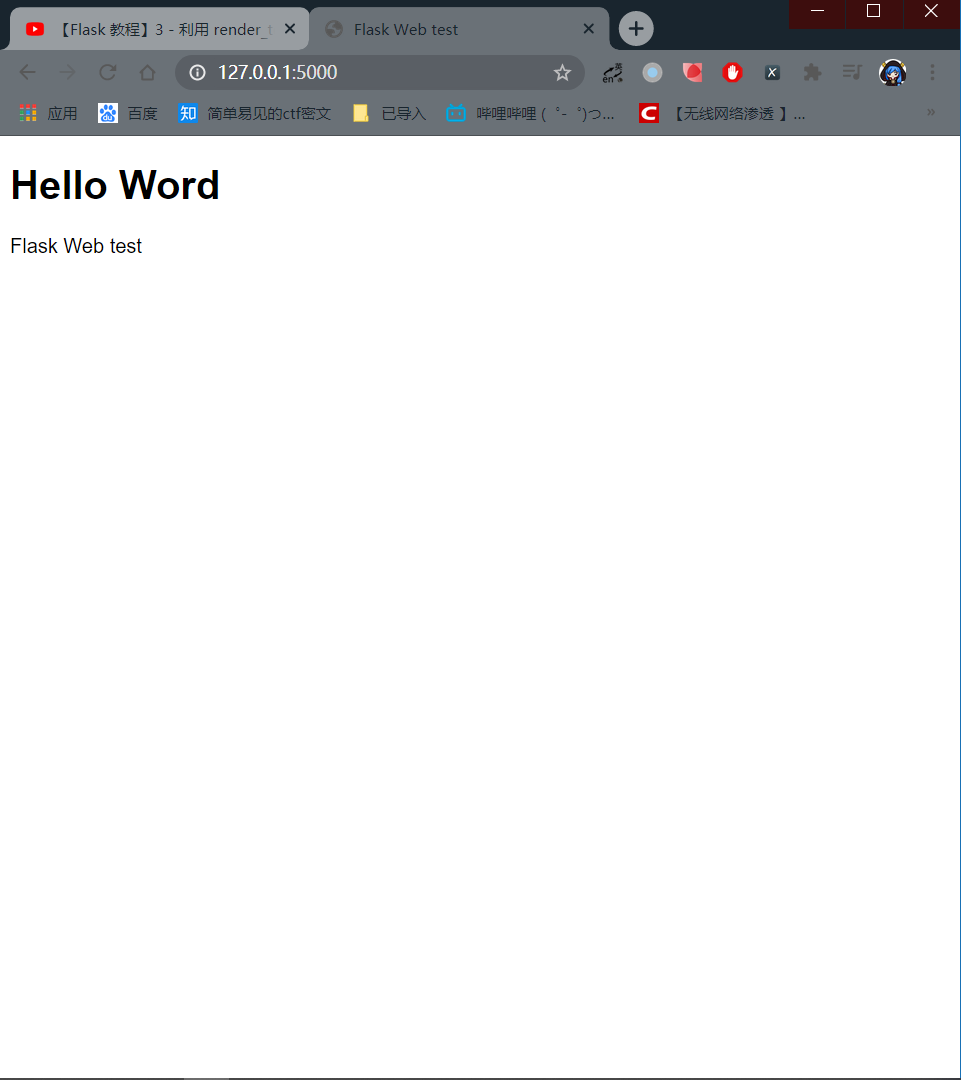
1
2
3
4
5
6
7
8
9
10
11
12
13from flask import Flask, render_template
app = Flask(__name__)
def hello_world():
# title=title 将 title 传入 index 作为标题
# <title>{{ title }}</title>
# 写在 <p>{{ title }}</p> 内,也可以调用 填入 'Flask Web test'
title = 'Flask Web test'
return render_template('index.html', title=title)
if __name__ == '__main__':
app.run(debug=True)更高级渲染 (条件判断、循环)
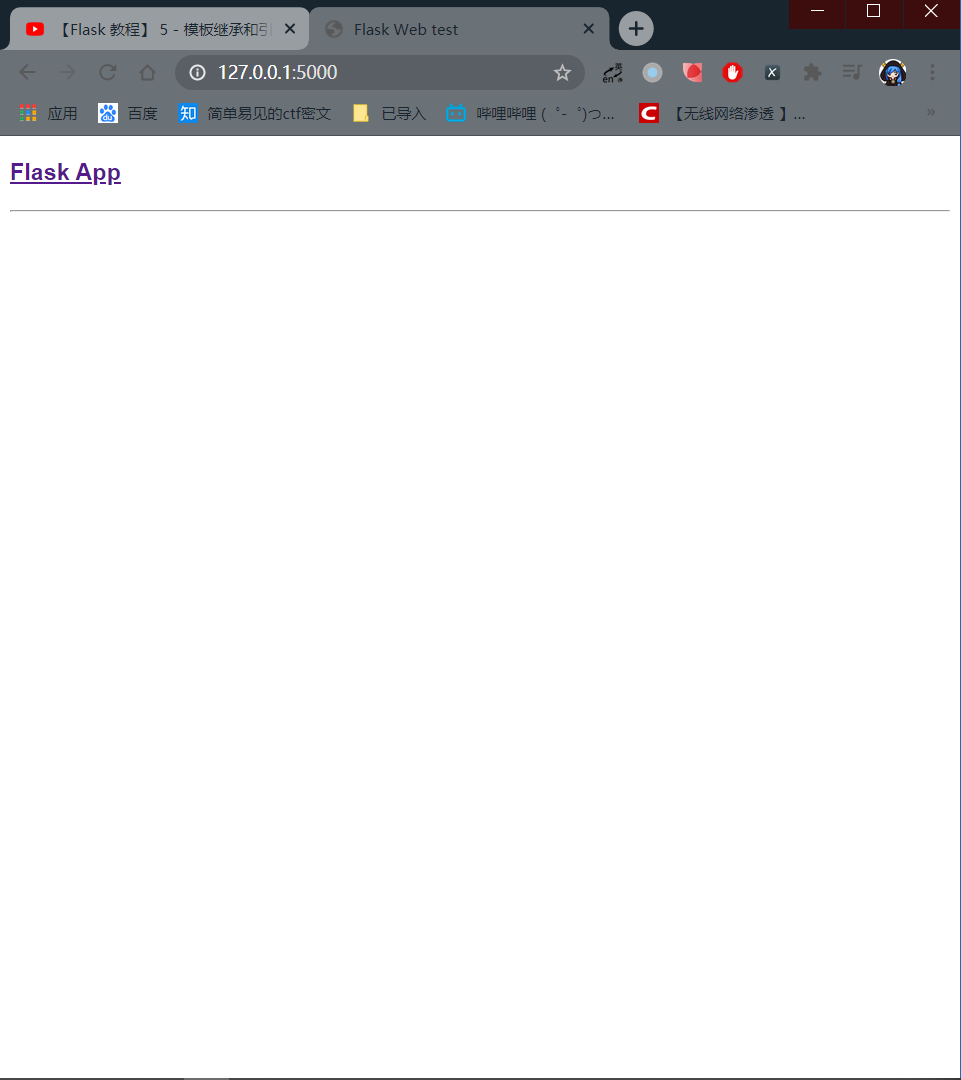
条件判断:
如果 title 为空则默认 标题为 ‘Falsk App’

1
2
3
4
5{% if title %}
<title>{{ title }}</title>
{% else %}
<title>Falsk App</title>
{% endif %}
1
2
3
def hello_world():
return render_template('index.html',
)
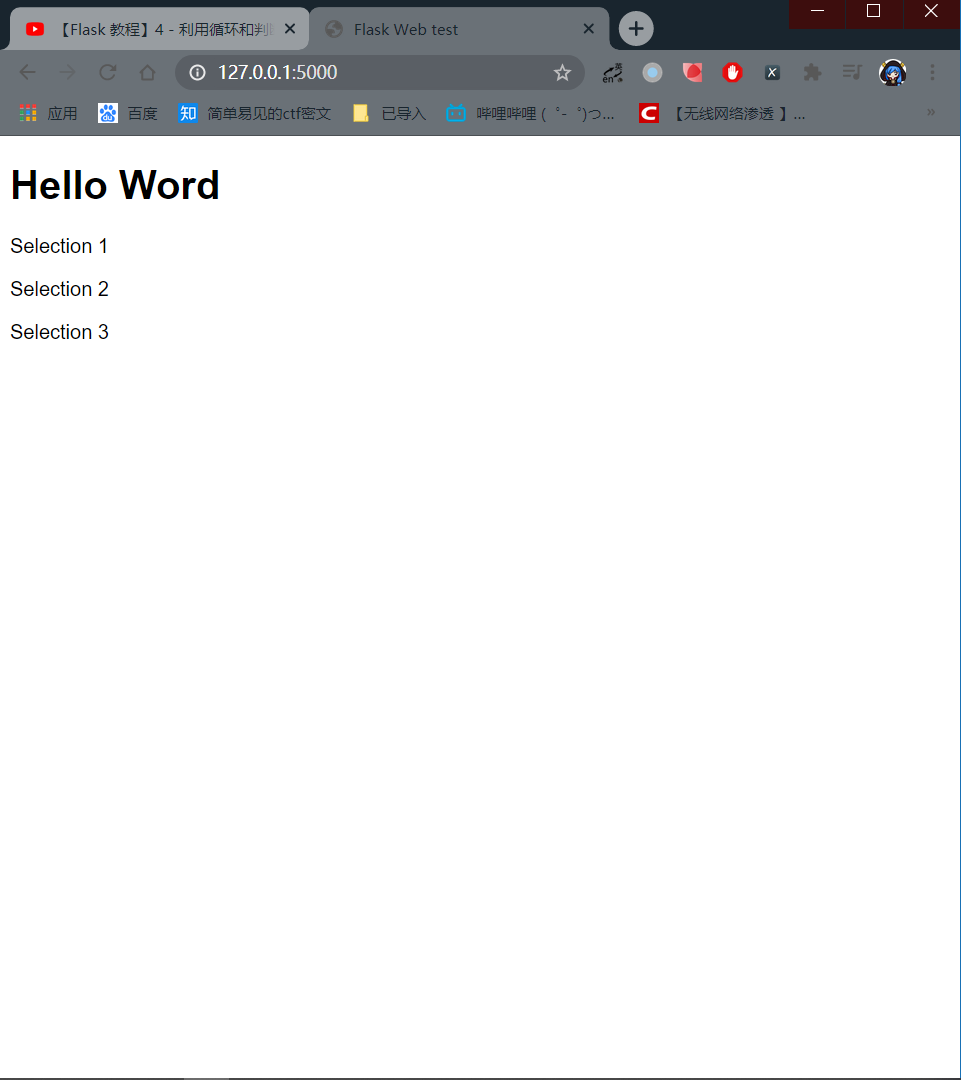
+ 循环 建立三个 <p></p>
1
2
3
{% for p in data %}
<p>{{ p }}</p>
{% endfor %}
1
2
3
4
5
6
7
8
9
10
def hello_world():
title = 'Flask Web test'
paragraphs = [
"Selection 1",
"Selection 2",
"Selection 3"
]
return render_template('index.html',
title=title,
data=paragraphs)
模板继承和引用
模板的继承
在 “templates” 下建立 “base.html” 作为模板
1
2
3
4
5
6
7
8
9
10
11
12
13
14
15
<html lang="en">
<head>
<meta charset="UTF-8">
{% if title %}
<title>{{ title }}</title>
{% else %}
<title>Falsk App</title>
{% endif %}
</head>
<body>
<h3><a href="/">Flask App</a> </h3>
<hr>
</body>
</html>在 “index.html” 中继承 “base.html” 模板
1
{% extends 'base.html' %}
在 “index.html” 继承模板后,写入属于自己的东西
在 “base.html” 文件相应位置写下 block 定义此自定义模块名称为 content1
2
3
4
5
6
7
8
9
10
11
12
13
14
15
16
17
18
<html lang="en">
<head>
<meta charset="UTF-8">
{% if title %}
<title>{{ title }}</title>
{% else %}
<title>Falsk App</title>
{% endif %}
</head>
<body>
<h3><a href="/">Flask App</a> </h3>
<hr>
{% block content %}
<p>Test</p>
{% endblock %}
</body>
</html>在 “index.html” 文件中 引用并更改
1
2
3{% block content%}
<p>{{ title }}</p>
{% endblock %}
模板的引用 (导入,对于会在很多地方用到的文件引用)
模板模块中定义的会被,引用模板的模块重写掉,如果没有引用则会显示模板模块内的内容,常规情况下默认为空
可以把每一个模块(导航栏,报头)新建一个 html 文件 (一个个小组件) 并引入继承到模块
“navbar.html” 自定义报头1
2<h3><a href="/">Flask App</a> </h3>
<hr>“base.html” 引入
1
{% include 'navbar.html' %}
了解 flask-bootstrap (框架中已经定义好许多 class 的命名、风格) 使界面布局更加好看,将布局封装到Flask的插件
可以通过定义 class 的值定义组件位于 页面中的位置
Flask—bootstrap 重点学习官网
1
2
3
4
5
6pip install flask-bootstrap
from flask import Flask, render_template
from flask_bootstrap import Bootstrap
app = Flask(__name__)
bootstrap = Bootstrap(app)
HTML 中引用 bootstrap 从 bootstrap 的 base.html 中的库内引用
1
2
3
4
5
6
7
8
9{% extends "bootstrap/base.html" %}
{% block title %}This is an example page{% endblock %}
{% block navbar %}
{# {% include 'navbar.html' %}#}
{% endblock %}
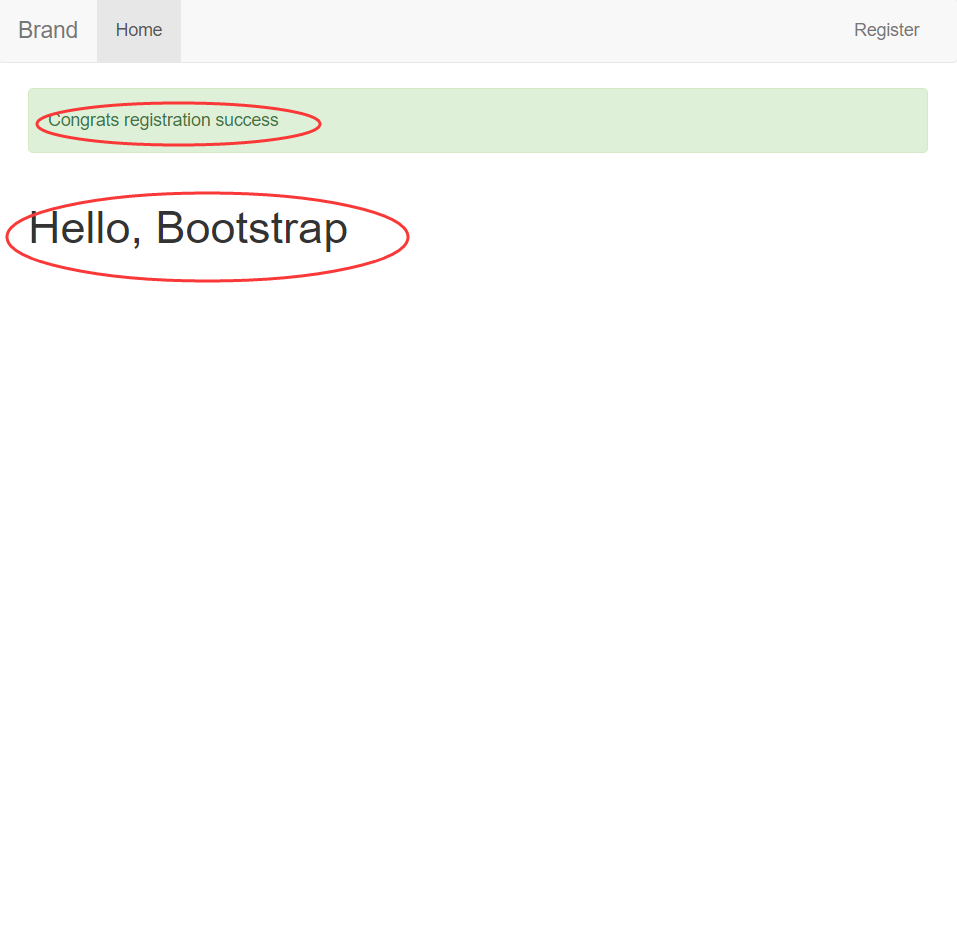
{% block content %}
<h1>Hello, Bootstrap</h1>
{% endblock %}重写 bootstrap 里面的类,使之满足自己的需求
在 “External Libraries -> site-packages -> flask_bootstrap -> templates -> bootstrap” 内修改内置的各种页面,或者,复制出来在自己的页面中引用修改创建新的页面 (以点击形式进入新的连接)
- app.py
1
2
3
4@app.route('/register')
def register():
# 转到 regist.html 页面
return render_template('register.html') - register.html
引用 “base.html” 模板1
2
3
4
5{% extends 'base.html' %}
{% block app_content %}
<h1>Register Now</h1>
{% endblock %} - base.html
引用 navbar.html 页面1
2
3
4
5
6
7
8
9
10{% block navbar %}
{% include 'navbar.html' %}
{% endblock %}
{% block content %}
<div class="container">
{% block app_content %}
{% endblock %}
</div>
{% endblock %} - navbar.html.html
设置页面共有文件1
2
3
4
5
6
7<ul class="nav navbar-nav navbar-right">
{# 只有当 request.endpoint 是 register 时 才是 active,否则是其他 #}
<li class="{% if request.endpoint == 'register' %}active{% endif %}">
{# 当点击 Regist 时 ,转到 register() 函数 ,由 render_template(register.html) 转到 register.html #}
<a href="{{ url_for('register') }}">Register</a>
</li>
</ul>
- app.py
Flask 连接数据库、 Flask mine 找回密码、Flask 登录 (采用关系数据库,Flask提供flask-sqlalchemy连接数据库)
1 | from flask import Flask, render_template |
- 为了方便管理,建议将 SQL 配置新建一个 config.py 用于整理配置文件
1
2
3
4
5
6
7
8
9import os
basedir = os.path.abspath(os.path.dirname(__file__))
class Config(object):
# 如果找到 SQLite 路径就是用,如果没有找到就新建一个
SQLALCHEMY_DATABASE_URI = os.environ.get('DATABASE_URL') or "sqlite:///" + os.path.join(basedir, 'app.db')
SQLALCHEMY_TRACK_MODIFICATIONS = False - 建立 models.py 存放构建数据库的结构
1
2
3
4
5
6
7
8
9
10
11
12from app import db
class User(db.Model):
# nullable 非空 ; unique 不能重复,出现相同就报错
id = db.Column(db.Integer, primary_key=True)
username = db.Column(db.String(20), unique=True, nullable=False)
password = db.Column(db.String(20), nullable=False)
email = db.Column(db.String(120), unique=True, nullable=False)
def __repr__(self):
return '<User %r>' % self.username - 要创建初始数据库,需要在 “Python Console” (3、4、5都在 Python Console 中执行) 导入对象并运行 “SQLAlchemy.create_all” 方法
1
2from app.models import db
db.create_all() - 创建用户用于测试
1
2
3
4
5
6from app.models import User
from app.models import db
user1 = User(username="", password="", email="")
# 添加进数据库,并运行指令
db.session.add(user1)
db.session.commit() - 访问数据库中数据
1
2
3
4
5
6from app.models import User
u = User.query.all()
# [<User 'Jack'>]
U = u[0]
U.password
# 'pwd'
FlaskWTF 创建 Flask 中的表单,基本包含所有表单
1 | 下载: |
FlaskWTF 重点官网主页
Flask Bootstrap 与 其他组件联系内容包括 WTF
- 创建表单 forms.py (用于注册,规定注册页面的内容)
1
2
3
4
5
6
7
8
9
10
11
12
13
14# FlaskForm 主要负责整合 wtforms 的内容、类型 以及包装
from flask_wtf import FlaskForm
# 定义数据类型字符串,密码,提交按钮
from wtforms import StringField, PasswordField, SubmitField
# validators 验证者:需要的数据、数据范围Length(min=6, max=20)、Email、验证密码 EqualTo('password')
from wtforms.validators import DataRequired, Length, Email, EqualTo
class RegisterForm(FlaskForm):
username = StringField('Username', validators=[DataRequired(), Length(min=6, max=20)])
email = StringField('Email', validators=[DataRequired(), Email()])
password = PasswordField('Password', validators=[DataRequired(), Length(min=8, max=20)])
confirm = PasswordField('Repeat Password', validators=[DataRequired(), EqualTo('password')])
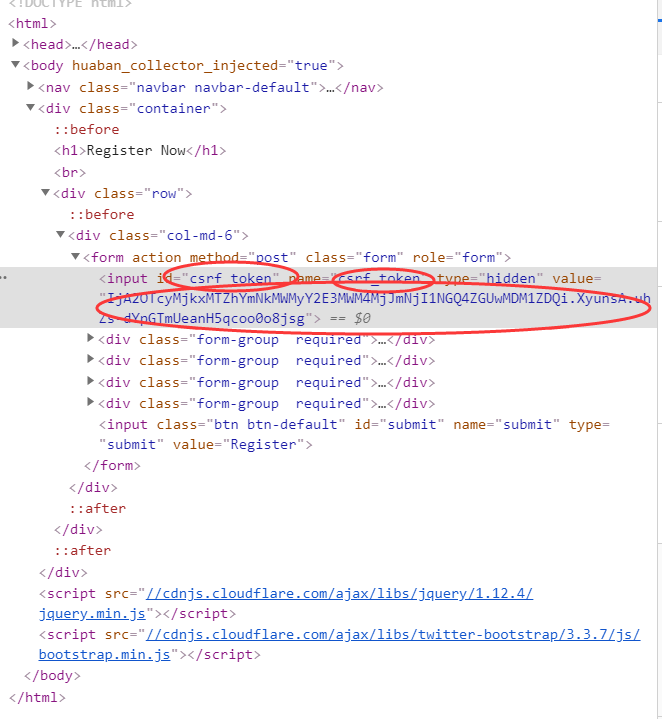
submit = SubmitField('Register') - 使用 Email类型 时需要下载支持 使用 FlaskWTF 需要秘钥设置, CSRF token 验证 每次随机生成
1
pip install email_validator
- 在 config.py 内设置
1
2# SECRET_KEY 秘钥为路径内或者 字符串 'A-VERY-LONG-SECRET' 可以随意设置,主要为了防止跨网站攻击
SECRET_KEY = os.environ.get('SECRET_KEY') or 'A-VERY-LONG-SECRET' - 在 app.py 主页设置
1
app.secret_key = '123456'
- 定义 app.py 内注册页面
1
2
3
4
5
6
7
8
9
10
11
12
13
14
15
16
17
18
19
20
21
22
23from flask import Flask, render_template, request, url_for
from flask_bootstrap import Bootstrap
from flask_sqlalchemy import SQLAlchemy
from config import Config
# 引用 form 内的 注册表单 RegisterForm
from app.forms import RegisterForm
app = Flask(__name__)
db = SQLAlchemy(app)
bootstrap = Bootstrap(app)
app.config.from_object(Config)
# 设置 传递数据的方法为 "GET" 与 "POST"
def register():
# 调用 RegisterForm 表单定义
form = RegisterForm()
# 定义如果点击后 pass
if form.validate_on_submit():
pass
# 将表单传入 register,html
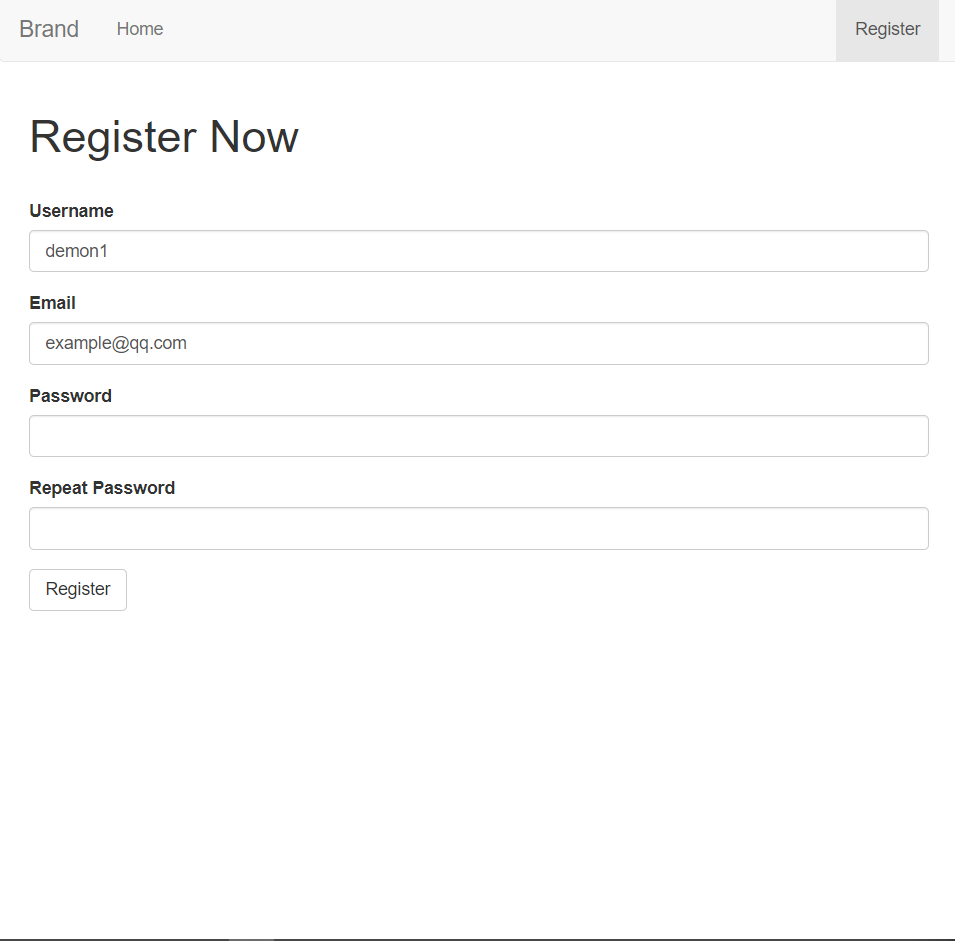
return render_template('register.html', form=form) - 定义 “register.html” : 引用 bootstrap 内的 wtf.html 内容
WTF 内部包含 表单提交的各种报错,验证等1
2
3
4
5
6
7
8
9
10
11
12
13
14
15
16{% extends 'base.html' %}
{% block app_content %}
<h1>Register Now</h1>
<br>
<div class="row">
{# col-md-6 表单大小 #}
<div class="col-md-6">
{# 引用 bootstrap 内的 wtf.html 内容 #}
{% import 'bootstrap/wtf.html' as wtf %}
{# 重点 一句话获取表单 form.py 的设置,快速完成表单,而无需进行大量的微调 #}
{{ wtf.quick_form(form) }}
</div>
</div>
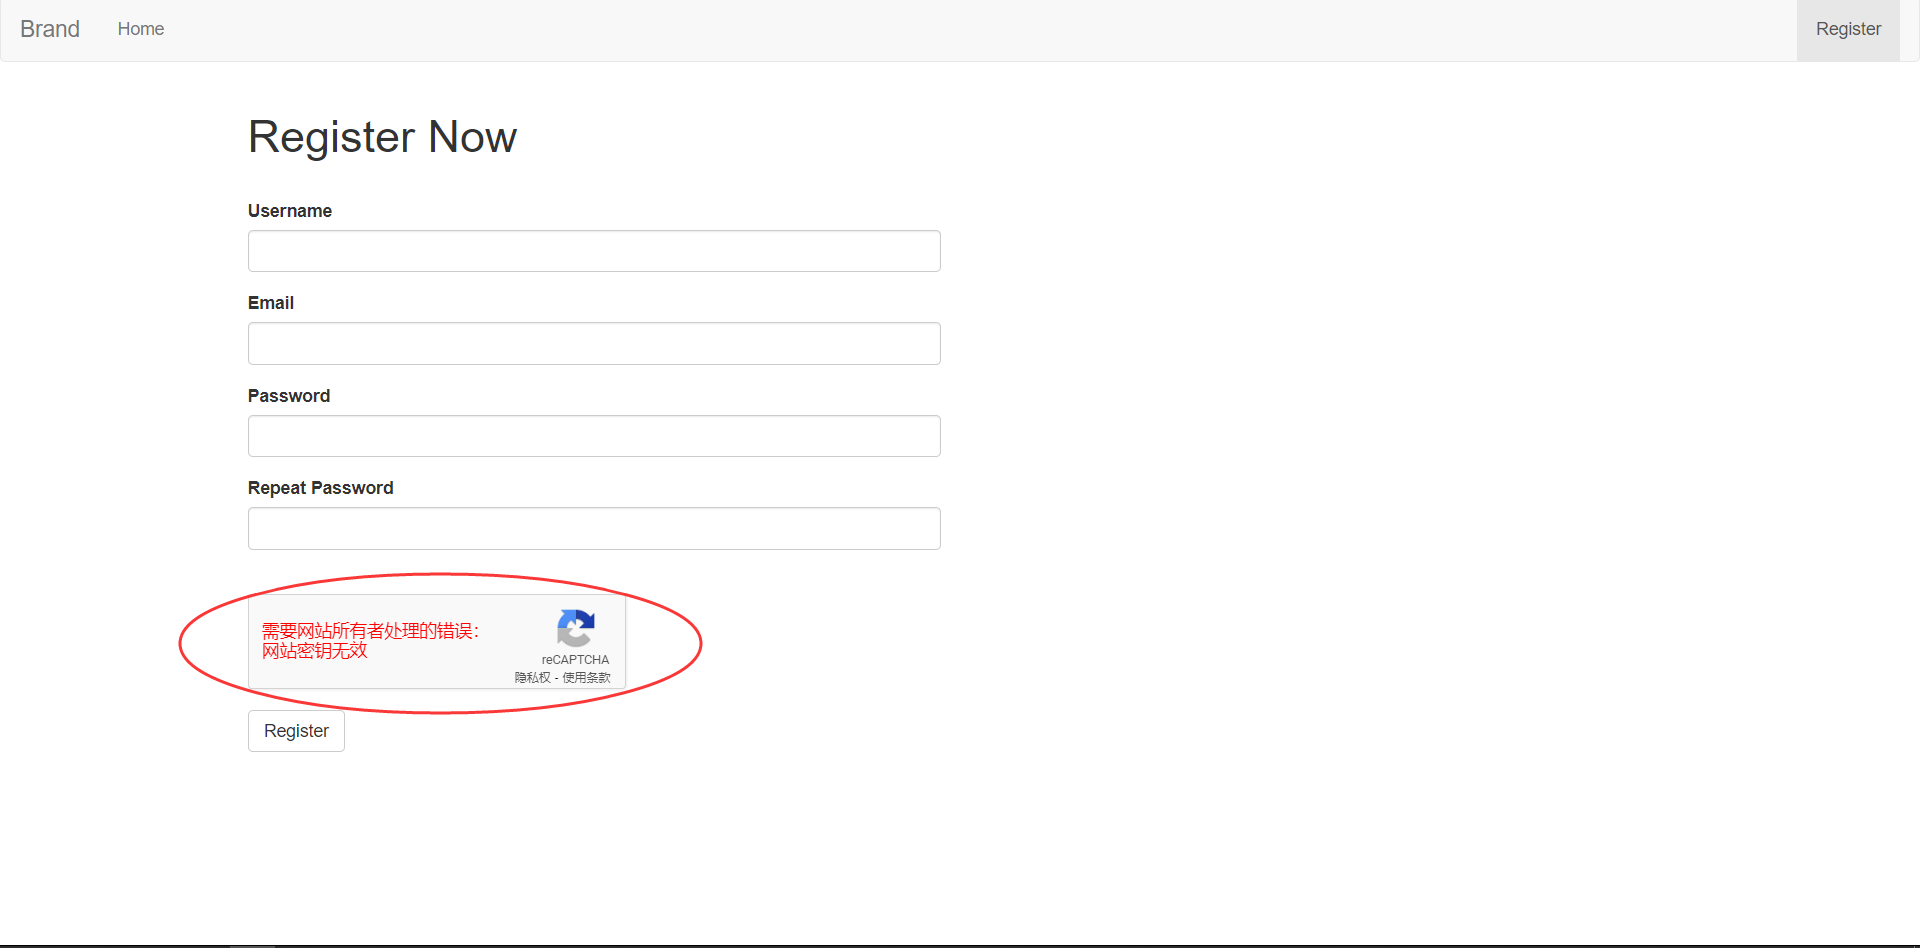
{% endblock %} - 额外: 人机验证 RECAPTCHA PUBLIC KEY 验证秘钥,验证是否为机器
- forms.py 添加验证
1
2from flask_wtf import FlaskForm, RecaptchaField
recaptcha = RecaptchaField() - config.py 注册秘钥
1
2
3# RECAPTCHA PUBLIC KEY 验证秘钥,验证是否为机器人
RECAPTCHA_PUBLIC_KEY = os.environ.get('RECAPTCHA_PUBLIC_KEY') or 'A-VERY-LONG-PUBLIC-KEY'
RECAPTCHA_PRIVATE_KEY = os.environ.get('RECAPTCHA_PRIVATE_KEY') or 'A-VERY-LONG-PRIVATE_KEY' - 遇到报错 “需要网站所有者处理的错误:网站密钥无效”,需要自行注册页面
- 定义 app.py 内注册页面
Flask-Bcrypt 加密数据项 ,在服务端处理表单存入数据库
1 | pip install flask-bcrypt |
加密数据项 “flask-bcrypy” 中的 “Bcrypy” 模块, 传入数据库
为了避免与 congig.py 内的引用构成 bug 新建 名为”app” 的 package 将除了数据库、config.py移入, 将 app.py 分为 init.py 与 route.py,在外部创建与 config.py 同级的 run.py

- __init__.py
1
2
3
4
5
6
7
8
9
10
11
12
13
14
15
16
17from flask import Flask
from flask_bootstrap import Bootstrap
from flask_sqlalchemy import SQLAlchemy
# 调用模块
from flask_bcrypt import Bcrypt
from config import Config
app = Flask(__name__)
db = SQLAlchemy(app)
# 定义模块
bcrypt = Bcrypt(app)
bootstrap = Bootstrap(app)
app.config.from_object(Config)
from app.route import * - route.py
1
2
3
4
5
6
7
8
9
10
11
12
13
14
15
16
17
18
19
20
21
22
23
24
25
26
27
28from flask import render_template, flash
from app import app, bcrypt, db
from app.forms import RegisterForm
from app.models import User
def index():
return render_template('index.html')
def register():
form = RegisterForm()
# 获取提交上来的注册数据,进行处理
if form.validate_on_submit():
username = form.username.data
email = form.email.data
# 变种hash加密,相同密码生成值也不同
password = bcrypt.generate_password_hash(form.password.data)
# 传入数据库内
user = User(username=username, email=email, password=password)
db.session.add(user)
db.session.commit()
# 检查产生密码与hash 是否对应正确
# bcrypt.check_password_hash(hash, password)
return render_template('register.html', form=form) - run.py
1
2
3
4from app import app
if __name__ == '__main__':
app.run(debug=True)
- __init__.py
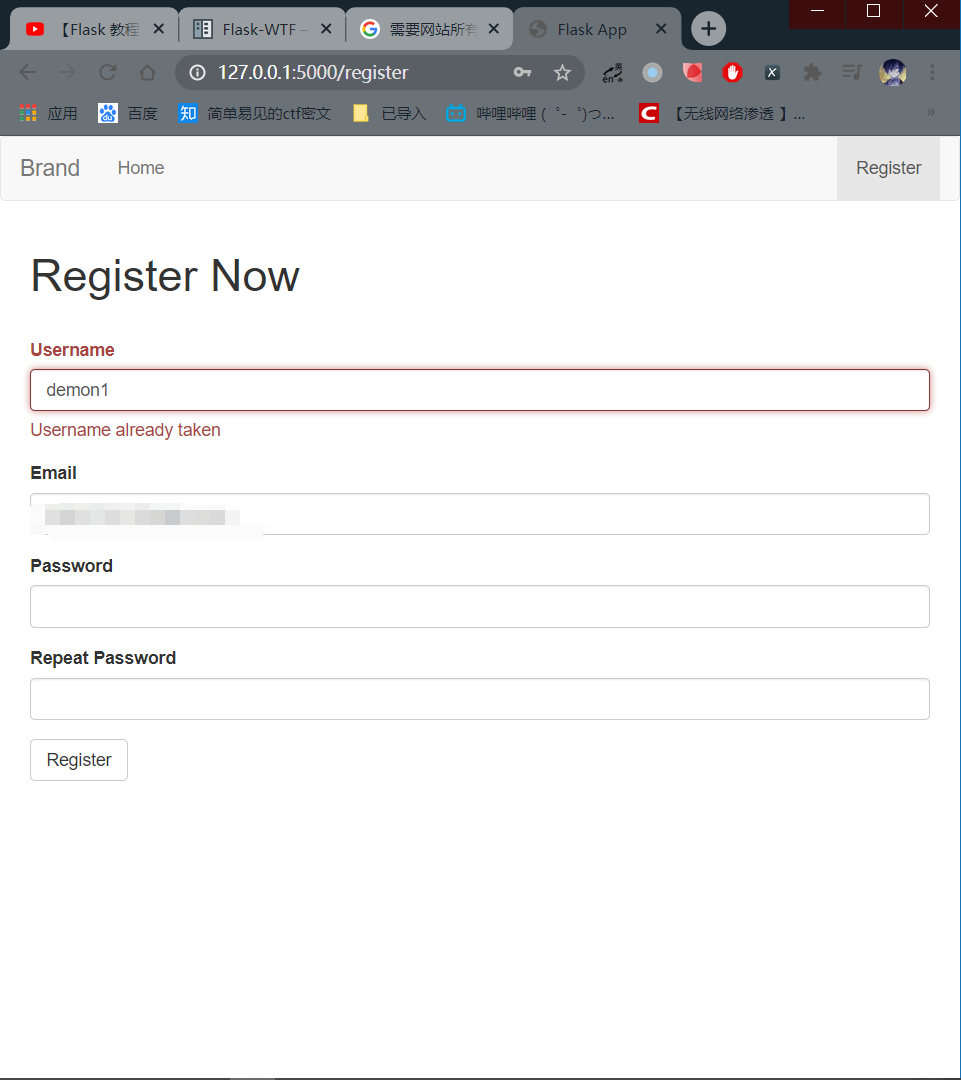
在设置 “models.py” 数据库时,设置 “unique=True 不能重复”,遇见重复的就会报错,需要写函数来辅助判断用户名和密码是否在数据库中,然后给与提示
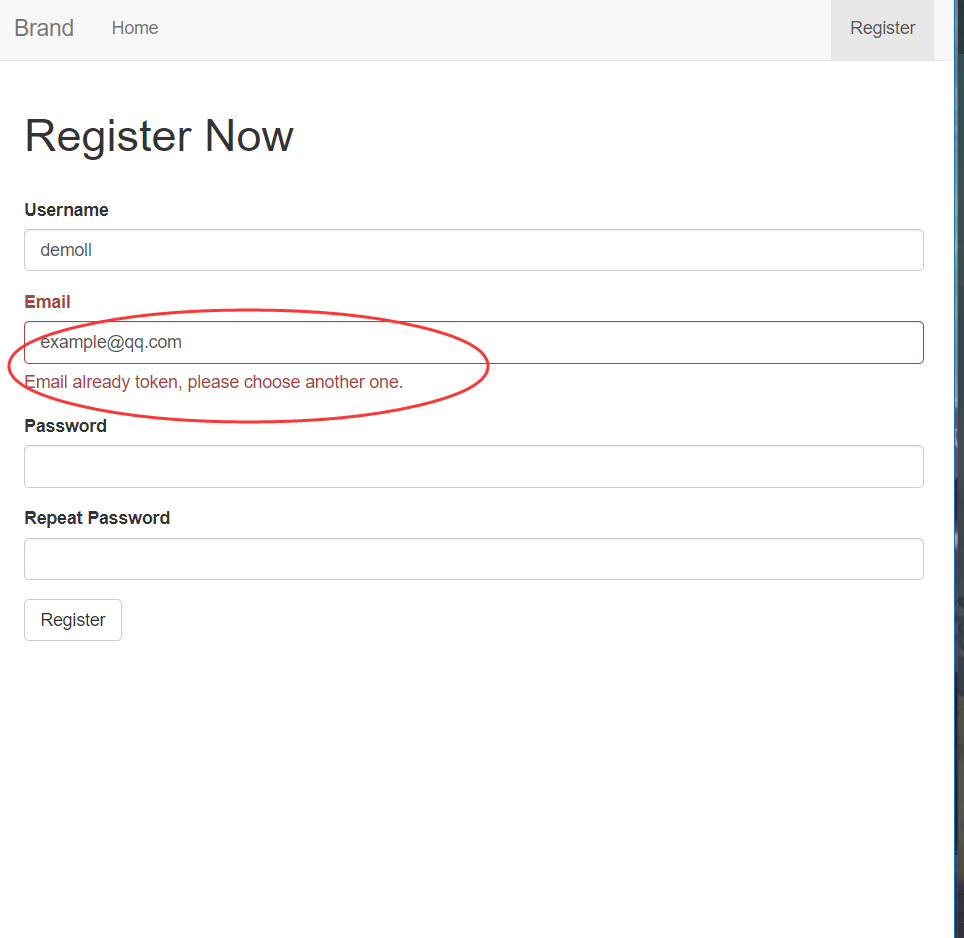
- forms.py 判断是否在数据库中重复,如果在给与报错
1
2
3
4
5
6
7
8
9
10
11from wtforms.validators import DataRequired, Length, Email, EqualTo, ValidationError
class RegisterForm(FlaskForm):
def validate_username(self, username):
user = User.query.filter_by(username=username.data).first()
if user:
raise ValidationError('Username already token, please choose another one.')
def validate_email(self, email):
email = User.query.filter_by(email=email.data).first()
if email:
raise ValidationError('Email already token, please choose another one.') - route.py (flash提示注册成功,并跳转页面)
1
2
3
4
5
6
7
8
9
10
11
12
13
14
15
16
17
18
19
20
21
22
23
24
25
26
27
28
29
30
31from flask import render_template, flash, redirect, url_for
from app import app, bcrypt, db
from app.forms import RegisterForm
from app.models import User
def index():
return render_template('index.html')
def register():
form = RegisterForm()
# 获取提交上来的注册数据,进行处理
if form.validate_on_submit():
username = form.username.data
email = form.email.data
# 变种hash加密,相同密码生成值也不同
password = bcrypt.generate_password_hash(form.password.data)
user = User(username=username, email=email, password=password)
db.session.add(user)
db.session.commit()
# flash 提示 "用户注册成功",提示信息为 "success" 样式
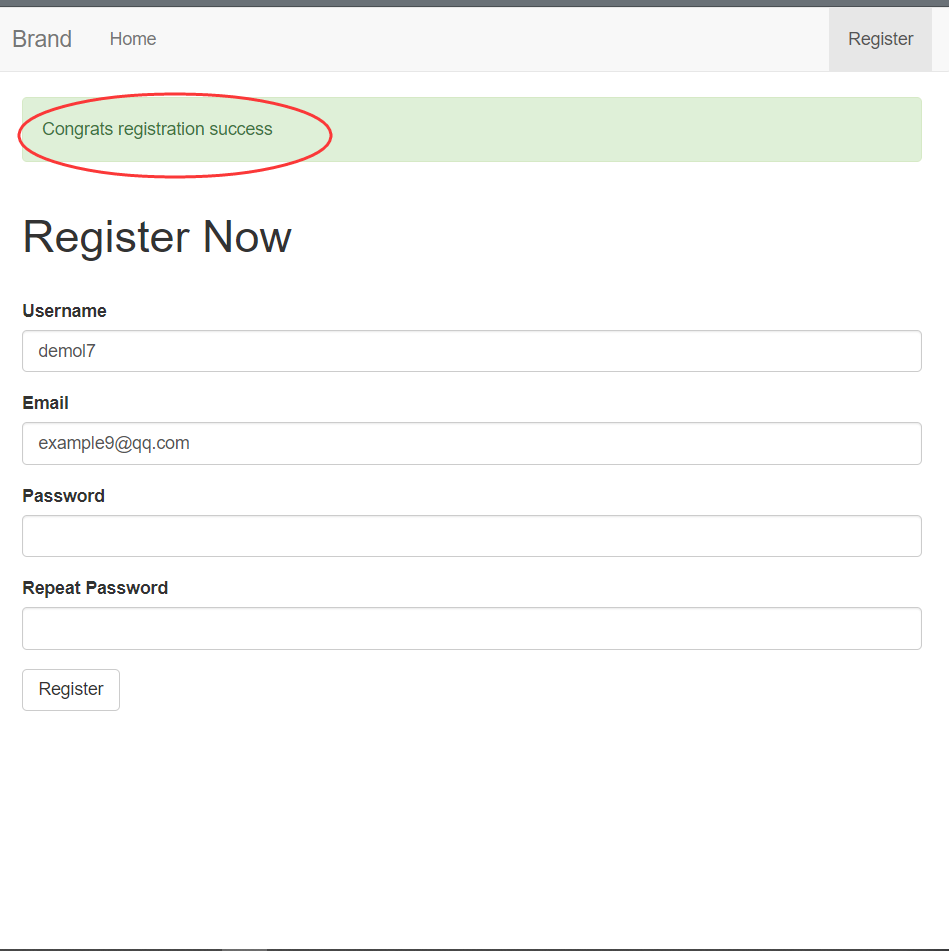
flash('Congrats registration success', category='success')
# 提示后转至 index.html 页面
return redirect(url_for('index'))
# 检查产生密码与hash 是否对应正确
# bcrypt.check_password_hash(hash, password)
return render_template('register.html', form=form) - base.html (修改 base.html 页面,确保 flash 成功显示在页面上)
1
2
3
4
5
6
7
8
9
10
11
12
13
14
15
16
17
18
19
20
21
22
23
24{% block content %}
<div class="container">
{# 提示框 #}
<div class="row">
{# 页面大小 #}
<div class="col-lg-6">
{# 判断与循环 #}
{% with messages = get_flashed_messages(with_categories=True) %}
{% if messages %}
{% for category, message in messages %}
<div class="alert alert-{{ category }}">
{{ message }}
</div>
{% endfor %}
{% endif %}
{% endwith %}
</div>
</div>
{# 在 app_content 注册 上添加 注册成功 提示 #}
{% block app_content %}
{% endblock %}
</div>
{% endblock %}
- forms.py 判断是否在数据库中重复,如果在给与报错
Flask-login 用户登录包,包含很多用于登录、登出的函数
pip install flask-login
在 __init__.py 内引入 flask-login 包,并进行设置
1
2
3
4
5
6
7from flask_login import LoginManager
# 登录界面的位置
login.login_view = 'login'
# 提示 "You must login to access the page" 提示框格式为 "info"
login.login_message = "You must login to access the page"
login.login_message_category = "info"新建 login.html 登录页面,在 forms.py 下 新建 Login 函数,构造 登录需要的部件

1
2
3
4
5
6
7
8
9
10
11
12
13{% extends 'base.html' %}
{% block app_content %}
<h1>Login In</h1>
<br>
<div class="row">
<div class="col-md-6">
{% import 'bootstrap/wtf.html' as wtf %}
{{ wtf.quick_form(form) }}
</div>
</div>
{% endblock %}1
2
3
4
5
6from wtforms import StringField, PasswordField, SubmitField, BooleanField
class LoginForm(FlaskForm):
username = StringField('Username', validators=[DataRequired(), Length(min=6, max=20)])
password = PasswordField('Password', validators=[DataRequired(), Length(min=8, max=20)])
remember = BooleanField('Remember')
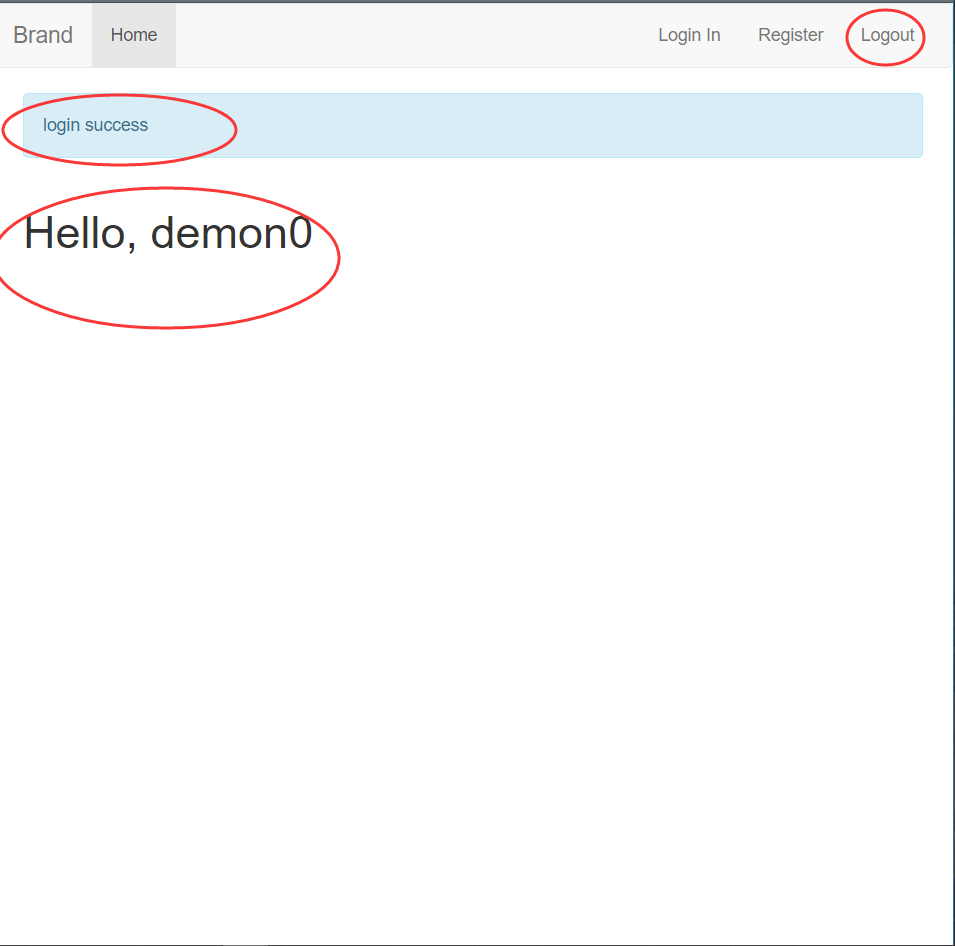
submit = SubmitField('Sign In')修改 navbar.html 在主页面新增 “Login” 、”Logout” 选项框,
增加判断项,在登录后只显示 “Logout” 选项,未登录时显示 “Login” 与 “Register” 选项,
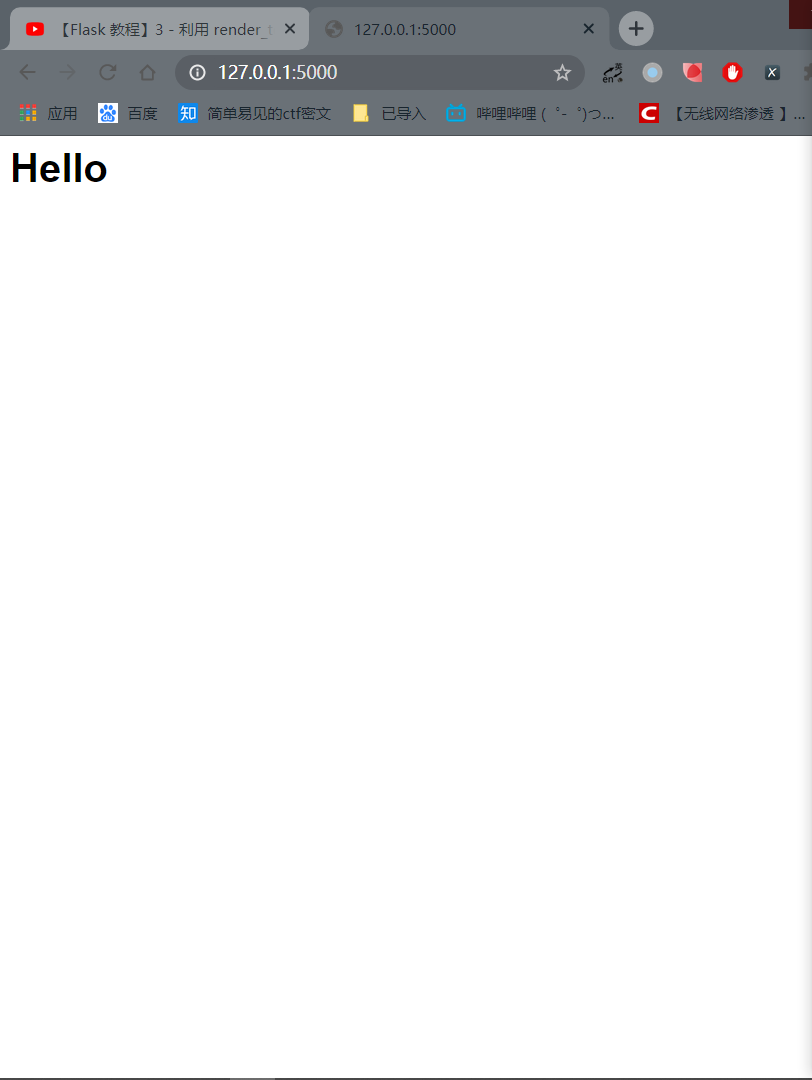
修改 主页面 (index.html) 显示为 Hello,


1
2
3
4
5
6
7
8
9
10
11
12
13
14
15
16
17
18<ul class="nav navbar-nav navbar-right">
{# 判断是否处于登录状态,current_user.is_authenticated 获取登录状态 #}
{% if not current_user.is_authenticated %}
{# 登录界面 #}
<li class="{% if request.endpoint == 'login' %}active{% endif %}">
<a href="{{ url_for('login') }}">Login In</a>
</li>
{# 只有当 request.endpoint 是 index 时 才是 active,否则是其他 #}
<li class="{% if request.endpoint == 'register' %}active{% endif %}">
<a href="{{ url_for('register') }}">Register</a>
</li>
{% else %}
{# 登出界面 #}
<li class="{% if request.endpoint == 'logout' %}active{% endif %}">
<a href="{{ url_for('logout') }}">Logout</a>
</li>
{% endif %}
</ul>1
2
3
4
5{% extends "base.html" %}
{% block app_content %}
<h1>Hello, {{ current_user.username }}</h1>
{% endblock %}修改数据库设置 model.py,删除数据库重新构建数据库结构
1
2
3
4
5
6
7
8
9
10
11
12
13
14
15
16
17
18
19
20
21
22# 引用 UserMinxin
from flask_login import UserMixin
# 从 app 包的 __init__.py 引用 login
from app import db, login
# 获取登录用户的 id
def load_user(user_id):
return User.query.filter_by(id=user_id).first()
class User(db.Model, UserMixin):
# nullable 非空 ; unique 不能重复
id = db.Column(db.Integer, primary_key=True)
username = db.Column(db.String(20), unique=True, nullable=False)
password = db.Column(db.String(20), nullable=False)
email = db.Column(db.String(120), unique=True, nullable=False)
def __repr__(self):
return '<User %r>' % self.username重构数据库:
在 "Python Console" 内重置数据库1
2from app.models import db
db.create_all()设置 route.py 为登录方法进行实现
1
2
3
4
5
6
7
8
9
10
11
12
13
14
15
16
17
18
19
20
21
22
23
24
25
26
27
28
29
30
31
32
33
34
35
36
37
38
39
40
41
42
43
44
45
46
47
48
49
50
51
52
53
54
55
56
57
58
59
60
61
62
63
64
65
66
67
68
69
70
71
72
73
74
75from flask import render_template, flash, redirect, url_for, request
# 从登录模块引入所需的方法
from flask_login import login_user, login_required, current_user, logout_user
from app import app, bcrypt, db
# 从 form.py 内引入 注册表格与登录表格
from app.forms import RegisterForm, LoginForm
from app.models import User
# 需要登录
def index():
return render_template('index.html')
def register():
# 判断是否是已经处于登录状态,如果是回到主界面
if current_user.is_authenticated:
return redirect(url_for('index'))
form = RegisterForm()
# 获取提交上来的注册数据,进行处理
if form.validate_on_submit():
username = form.username.data
email = form.email.data
# 变种hash加密,相同密码生成值也不同
password = bcrypt.generate_password_hash(form.password.data)
user = User(username=username, email=email, password=password)
db.session.add(user)
db.session.commit()
flash('Congrats registration success', category='success')
return redirect(url_for('index'))
# 检查产生密码与hash 是否对应正确
# bcrypt.check_password_hash(hash, password)
return render_template('register.html', form=form)
# 设置登录函数、登录页面、登录方法
def login():
# 判断是否是已经处于登录状态,如果是回到主界面
if current_user.is_authenticated:
return redirect(url_for('index'))
# 获取 登录表格
form = LoginForm()
# 如果调交上来的数据不为空
if form.validate_on_submit():
username = form.username.data
# 获取密码,检查密码是否与数据库中匹配
password = form.password.data
remember = form.remember.data
# 根据输入用户名找到数据库中用户信息
user = User.query.filter_by(username=username).first()
# 如果用户存在且密码对应正确
if user and bcrypt.check_password_hash(user.password, password):
# 设置是否记住登录信息单选框
login_user(user, remember=remember)
# 返回登录成功信息
flash("login success", category='info')
# http://127.0.0.1:5000/login?next=%2F 由 next 决定接下来进入的页面
if request.args.get('next'):
next_page = request.args.get('next')
return redirect(next_page)
return redirect(url_for('index'))
# 如果用户不岑在或者密码错误,flash 出错误
flash("User not exists or password not match", category='danger')
return render_template('login.html', form=form)
# 设置登出函数、页面
def logout():
# 直接引用 flask_login 模块中的 logout_user()
logout_user()
# 登出后返回登录页面
return redirect(url_for('login'))